How to create a landing page for your instagram using Divi
Everybody uses linktr.ee but as your mother used to say “you’re not everybody”.
I know, I know, linktr.ee is awesome and I used for a long, long time because I felt lazy. It’s so easy to set up a linktree account, less than 10 minutes and it’s done.
I am not trying to make you run away from here and create your linktree. When people go to your linktree and don’t click on anything, how do they reach you? Would they come back to your Instagram account? Do you have access to this analytics?
So you had these people that clicked on your link, went to this page with only a bunch of links, that has nothing to say about you, maybe it’s not even how you present your branding and you lost them. Bringing potential customers to your website and generating views to your page is much better than give all this to linktree. They are thank you right now.
Time to change the game, your visitors are yours!
Make them play around on your website!
Here is how to create a landing page for your Instagram that generates views for your entire website.
This is a Divi Tutorial.
Divi is a WordPress theme with a builder so you can do anything you need without use a line of code.
Click here to learn more.
1 | Add New Page and give it a name that would be nice to have on your Instagram. Remember the link won’t be linktr.ee/yourpage. This will be yourdomain.com/wheteveryouwant. I like to name it “best content” because it’s a curated content you are tailoring to your Instagram followers. I see people using /freestuff or /learnmore. It’s really up to you.
3 | Add a Fullwidth Section, grab it and drop it on the top of the standard section (the blue and green one you see in the picture above).
4 | Click on the plus (+ insert module) inside the purple section and click on Fullwidth Header. It will open a window where you will add the title of the page. You don’t have to use the title-title of the page. You can write something like “Hey, you found the best content!” or “Thanks for your interest in my brand”. Again, your choice of words.
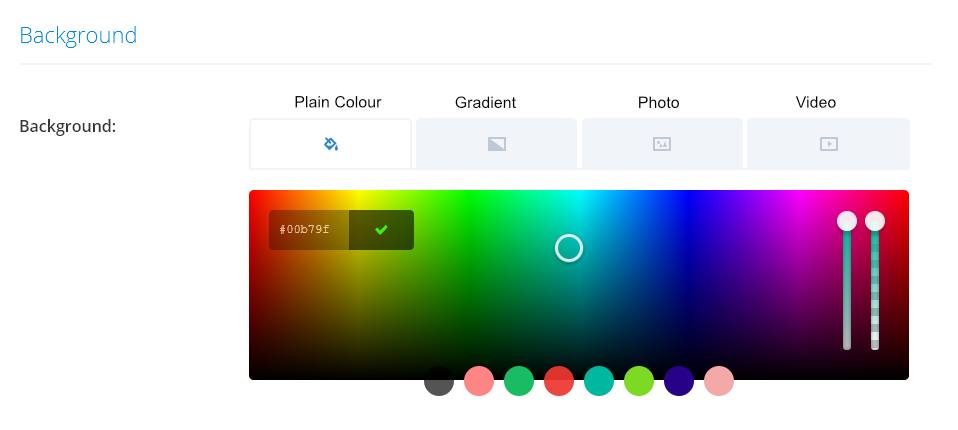
5 | Scroll until the very bottom and you will see the background for your header. There are 4 tabs: plain color, gradient, image, and video. I never recommend video as you never know if your customer is using wifi or not and it’s really not fair spending their data on something not important. To change the color just click on it.
6 | Save & Exit.
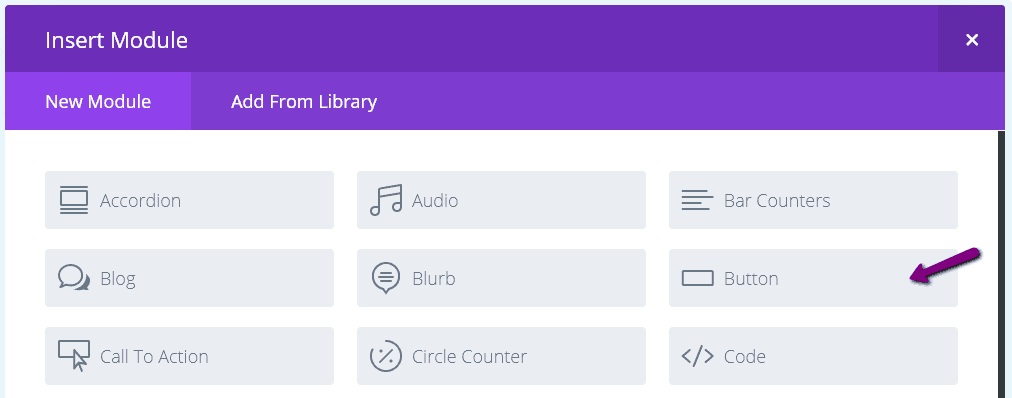
7 | On the Standard Section, click on the “+ Insert Column(s) inside the green row. Choose the first (green rectangle). It looks like nothing changed, but you will notice that now there is a “+ insert module” inside of the row. Click on it, and then click on “Button”
8 | The button module will open and now you can start to create your links. It’s pretty straight-forward.
- Button Text: what will appear on the button (Latest Blog Post, Sign up for the newsletter, Contact me)
- Button URL: Here you will paste the link
- Url Opens: you will choose between “In the same window” and “in the new tab”.
- Admin Label: Change the name of this button to keep your builder organized.
9 | Click on the Design Tab. Here you can change the appearance of your button. First thing is changing the Alignment to center.
-
Usually, the Divi builder knows what it’s doing and if you don’t change it will have a good outcome. But if you want to change your button colours just switch the “Use Custom Styles for Button:” to YES.
10 | After making the changes, click on Save & Exit.
11 | Now it’s time to add all the other links, but the best part about Divi is: you don’t have to copy and paste anything, you only have to press one button: The clone button.
12 | Now you only need to click on the edit button and edit your links.
If you cloned your buttons, you don’t have to edit the design tab anymore.
13 | Last but not least, publish your page. Take the address and add on your Instagram. Every time you add a new post that needs a link share, you can come back to this page, clone a button and update the links.
Hope you like this tip, if you have any questions, feel free to ask in the comment section. 🙂


